When your computers are synchronised any changes you make on one computer will be automatically applied to all the others computers in the group and vice versa.
To keep your computers synchronised you can create a 'Practice Group'. All computers in the group will be kept synchronised automatically when on your practice network and, if you enable 'Cloud Features', they will be kept synchronised when away from the practice using the cloud.
If you are part of a 'Practice Group' and are off-site as well as off-internet then you will still have all your data with you and be able to work as normal, you just wont be able to send updates to the practice or receive them. All the changes will automatically synchronise when you connect either to the internet or to the practice network.
Creating and/or joining a 'Practice Group' is done using a 'Join File' and is a 2 step process:
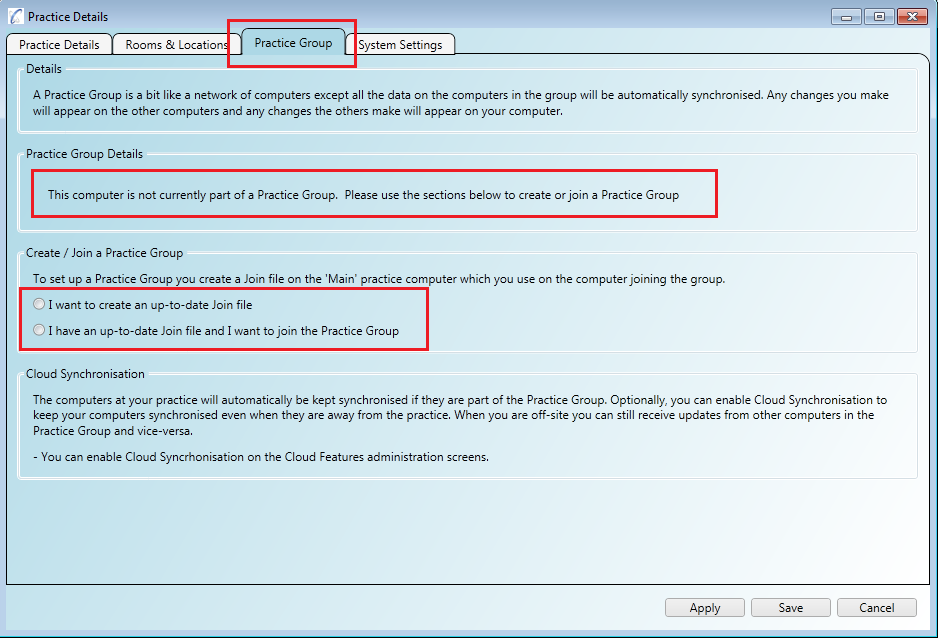
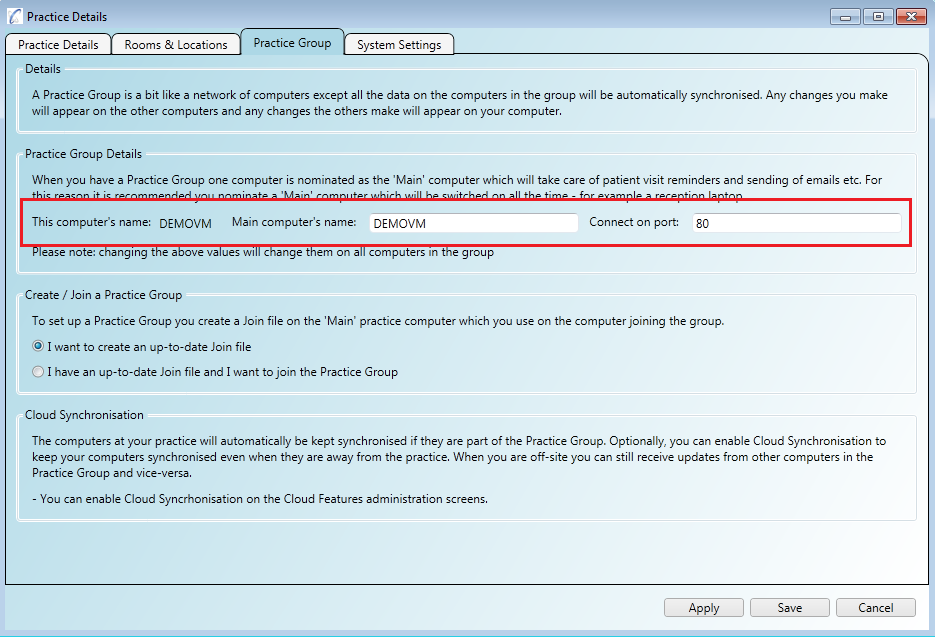
Open the 'Administration/Practice Details/Practice Group' screen. If your computer is not currently part of a 'Practice Group' you will have a message in the middle of the screen telling you so. You can either create a new group or join an existing one.
To create a new 'Practice Group' you need to create a 'Join File' on your main practice computer.
Step 1
To create a new 'Practice Group' click on the 'I want to create an up-to-date join file' option in the middle of the screen.
Step 2
To create a new 'Practice Group' click on the 'I want to create an up-to-date join file' option in the middle of the screen.
Step 3
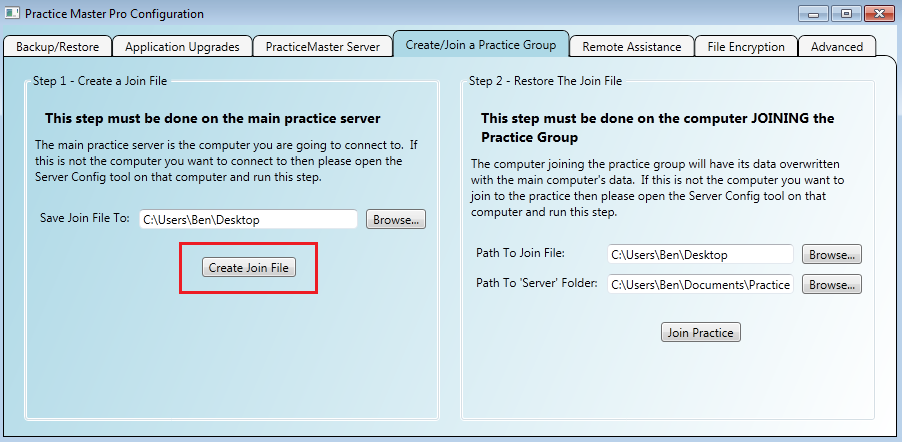
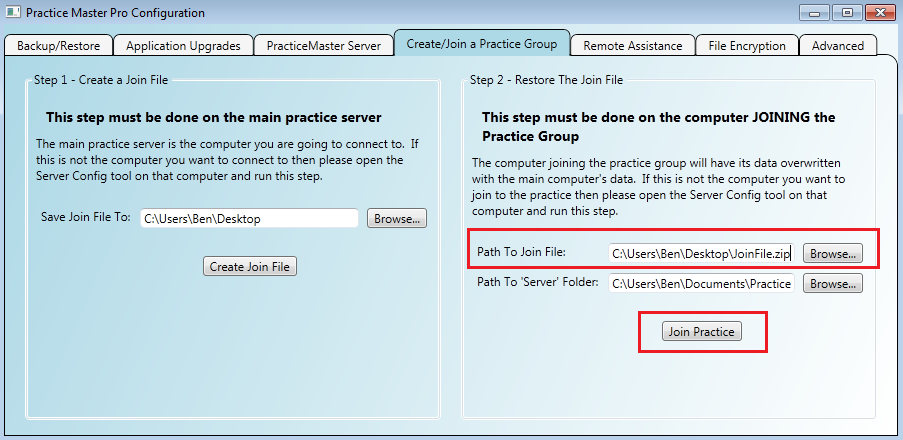
The Server Config tool appears on the 'Practice Group' tab, click the 'Create Join File' button to create your up-to-date join file
on your desktop.
Step 4
When you are part of a 'Practice Group' you will see details regarding the group in the middle of the screen.
You use the up-to-date 'Join File' from your main practice computer on the computer joining the group.
Step 1
Copy the up-to-date 'Join File' created above on to the computer joining the group.
Step 2
Open the 'Server Config' tool and click on the 'Practice Group' tab.
Step 3
Browse to your 'Join File', check that the path to your 'Server' folder is correct (if you installed with the defaults then it should already be correct) and
click the 'Join Practice' button.
Step 4
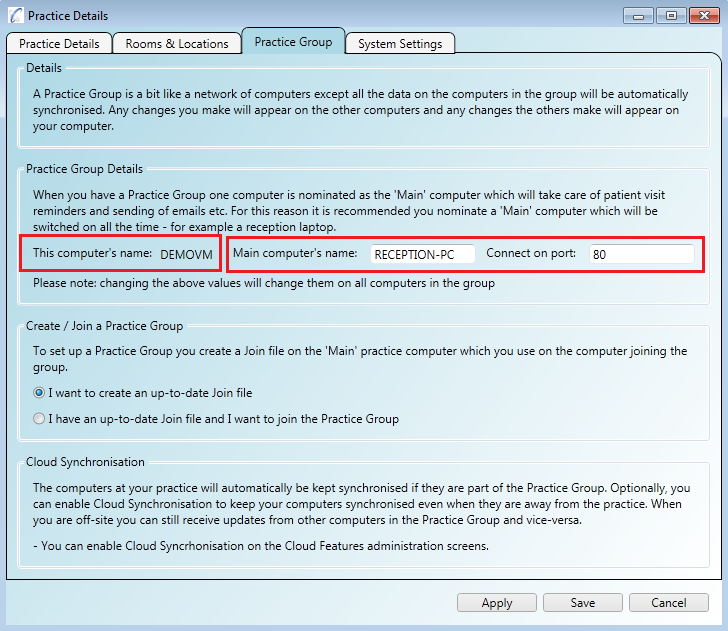
When successfully joined you should the group details on the 'Administration/Practice Details/Practice Group' screen. Below you can see that the current
computer name is different to that of the 'Main' computers name. This indicates that it has joined the main computers group.
Your data will be automatically synchronised when you are in the practice and on the network if you are part of a 'Practice Group'. If you go off-site, or off-network then you can still have your data kept up to date by enabling 'Cloud Features'.
Step 1
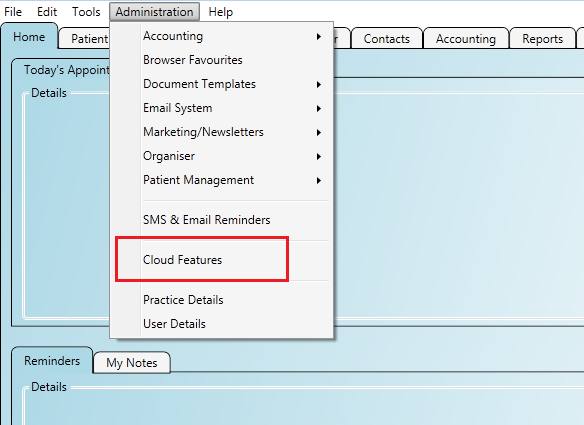
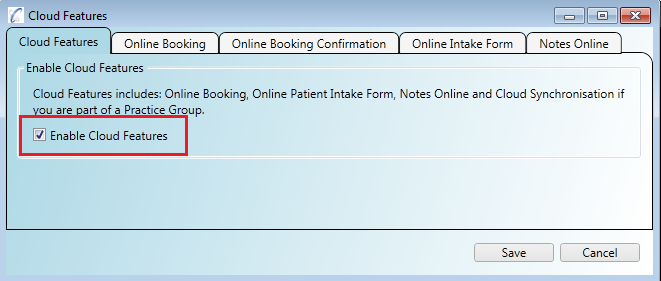
Click on the 'Cloud Features' menu item and tick the 'Enable Cloud Features' box in the screen that appears. Your data will now be kept in sync even when you are away from the practice (if you have an internet
connection). If you are without internet you will still have all your data with you but you will not receive or send updates until connected.